

This post contains detailed directions for creating the 5x8 notepad portfolio in today's post as well as this post 2 days ago.
The template can be found here. File has been updated to a .pdf - hope this one is better for everyone to view. :)
Step by step instructions are detailed here. I'm using a sheet of double sided cardstock paper from Stampin' Up. Stampin Up brand cardstock is the lightest weight double sided cardstock I would use; I prefer a thicker cardstock weight for these portfolios. Directions will also include how to create the pen loop.
The depth of this template is 1/4" - the depth of the Staples 5x8 notepad. Sometimes you can find notepads in thicker depths; if that is the case just adjust the 1/4" in the template to suit your need.
 Step 1: using the template as your guide, cut along solid lines, and score on dotted lines.


 Step 1: using the template as your guide, cut along solid lines, and score on dotted lines.

Step 2: Trim the pen insert piece to fit inside a clear pen barrel. I am using a RSVP pen from Pentel, purchased by the box at Staples.
Score and adhere the top flap cover of the notepad (see lower right in photo above). You'll need to measure how much to cover of the notepad front; the notepads from Staples are 1" and 1/4" thick and 5" in width, so I scored at 1" and 1-1/4" and adhered.
Cut away the areas around the bottom flap that creates the inside pocket, as shown. Angle the cuts and you'll have a neater look.
 Step 3: Cut strips for the left front flap using the triangle piece. I like to use a 3/4" width but this is strictly personal preference.
 Step 4: Adhere bottom flap of pocket to inside of right front flap. I'm using a Scotch ATG 714 tape gun here. It contains 1/4" wide tape. I purchased mine and the refill tapes from http://www.framingsupplies.com/.
 Step 5: Apply adhesive to the 1" flap of right front flap/pocket.
 Step 6: Firmly adhere 1" flap of right front flap/pocket to back of notepad, aligning cardstock with bottom of notepad.
 Step 7: Apply adhesive to 1" wide area of left front flap. I'm using a Scotch ATG 700 here - it holds a 1/2" width tape - source for gun & tape: http://www.framingsupplies.com/.
 Step 8: Firmly adhere 1" flap of left front flap/pocket to back of notepad, aligning cardstock with bottom of notepad.
 Step 9: Use a piece of 5x8 cardstock in a complementary color for the back & adhere in place. Align solid cardstock piece with bottom of notepad.
 Step 10: Go back to the 3/4" wide paper strips from step 3. I prefer to use the reverse paper to show contrast. Apply adhesive to the back and adhere to left front flap edge. Trim flush.

Step 11: These following steps will explain how to create a pen holder - these steps are purely optional. If you wish to omit these, proceed to step 14.
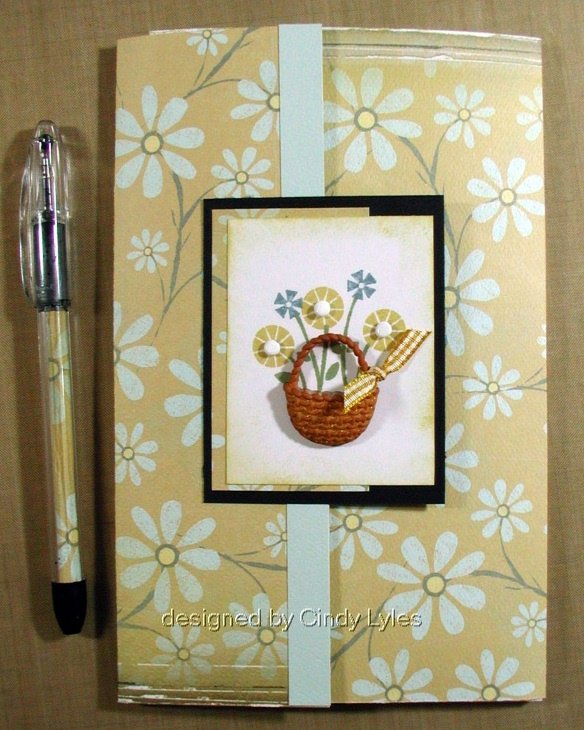
Create a 'closure cardstock unit' that will serve as the focal point for the journal front. You can use scrap cardstock that coordinates with the notepad, or you can use the upper right cardstock segment from step 1. I did here, using a piece of medium weight chipboard coaster, followed by a piece of dark brown cardstock, then the patterned paper piece, trimmed to the size I wanted. When the time comes, you will only be adhering the left back side of the closure cardstock unit to the front of the left front flap.
 Step 12: Select ribbon for the pen holder - I am using a 1.5" wide twill. Apply adhesive to the back of the left side of the closure cardstock unit, apply ribbon, and lay pen on top of ribbon to measure the barrel for a nice fit. Then place more adhesive on top of the ribbon (this step is shown in photo).
 Step 13: Hug ribbon around pen barrel, and adhere firmly to adhesive. Remove pen and apply a generous amount of adhesive on one side of closure cardstock unit. Adhere to left front flap only.
 Step 14: Basic Grey magnets - awesome closure for this style notepad! You'll need two - a positive and a negative.
 Step 15: Peel off liner on one magnet, exposing adhesive. I like to reinforce these magnets, so I placed a drop of Glossy Accents on the back of the closure cardstock unit and adhered magnet, sticky side down.

Step 16: A tip: to avoid waiting for the glue to dry, place a scrap piece of paper over the first magnet, then click the second magnet into place. Peel off protective paper from second magnet, apply a drop of Glossy Accents to sticky side.


Step 17: Slowly close left front flap and push second magnet into place wherever it lands. Gently lift paper scrap with left front flap. Discard scrap and push both magnets down to ensure bond. Allow Glossy Accents to dry (a few minutes) with portfolio open (magnets not touching).


Step 18: Embellish closure cardstock unit on front, insert pen and viola!
There are tons of variations for these - think outside the box: use a post-it holder for the closure cardstock unit, or a metal tin like I did in the previous post mentioned at the beginning of this toot.
Happy New Year & thank you for stopping by!
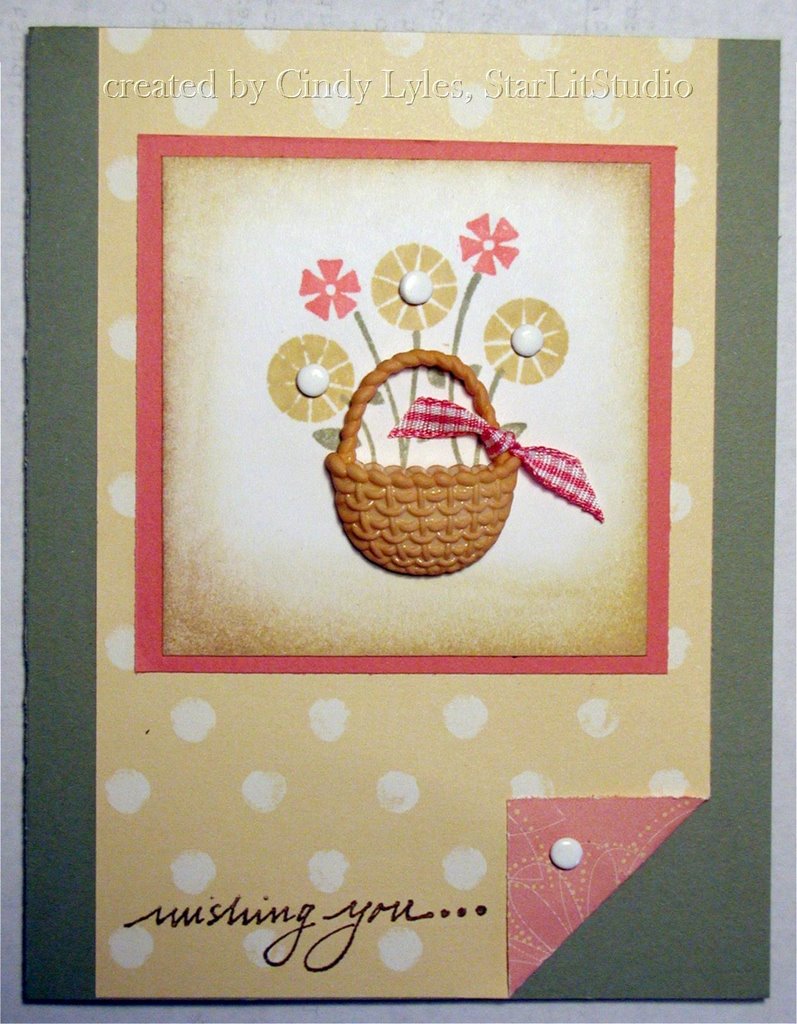
ornate bird: Hero Arts; SU olive ink & paper. 


